 how-to
DIY Kitchen Renovation: 7 Essential Tips
Table of Contents
- Plan Your Kitchen Layout and Design
- Kitchen Renovation Building Regulations and Permits
- Set a Realistic Budget and Timeline
- Kitchen Renovation Project Timeline: Phase by Phase
- Essential Tools for Kitchen Fitting
- Material Selection and Finishing Touches
- Common Mistakes to Avoid
- Frequently Asked Questions
Last Updated: September 28, 2026
Plan Your Kitchen Layout and Design
The foundation of any successful DIY kitchen renovation starts with planning. Before you touch a single cupboard or measure a wall, you need to understand how your space will function. This is where most homeowners stumble, they skip the planning phase and pay for it later with poor workflow and wasted money.
The work triangle is a proven principle in kitchen design. It connects your sink, cooker, and fridge, the three points you use most often. When these three are positioned correctly, your kitchen becomes efficient. When they're not, you'll waste time and energy walking back and forth constantly.
Understanding the Work Triangle
The work triangle concept has guided kitchen design for decades. The idea is simple: the distance between your sink, cooker, and fridge should form a triangle with sides of roughly 1.2 to 2.7 metres each. No single side should exceed 2.7 metres, or the kitchen feels too spread out. No side should be shorter than 1.2 metres, or the space becomes cramped.
Why does this matter? A properly proportioned work triangle means fewer steps during meal preparation. You move between cooking, washing, and storage in a natural rhythm. The result is a kitchen that feels good to use, not frustrating.
When planning your layout, sketch out where each appliance will sit. Mark the distances. If your triangle is unbalanced, adjust appliance placement before you order components. This is far cheaper than moving things after installation.
Measuring Your Space Accurately
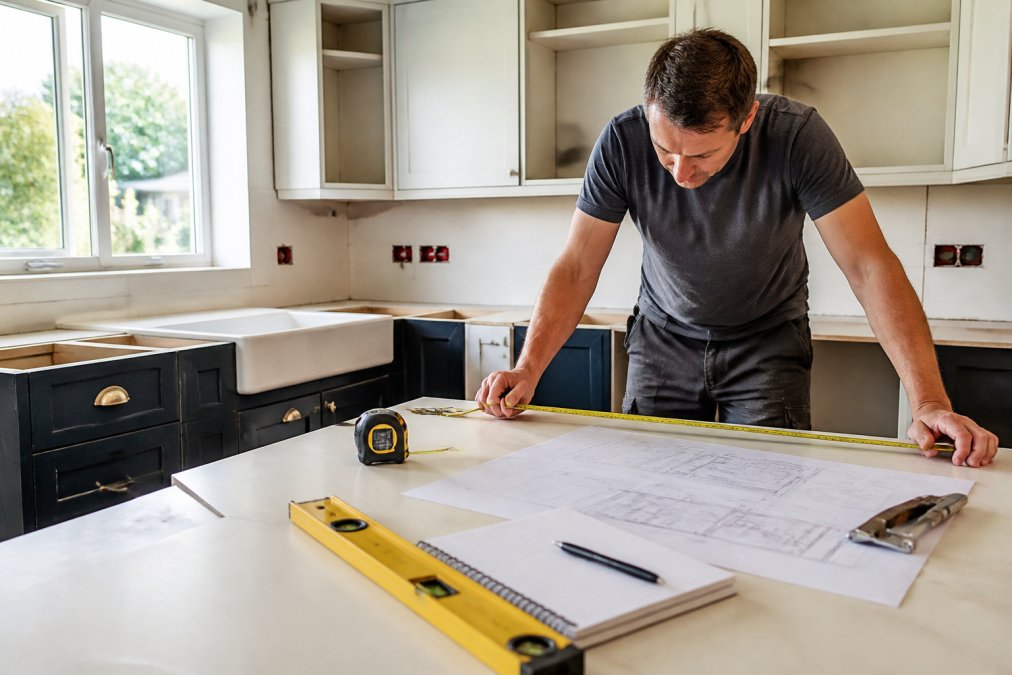
Accuracy in measurement prevents costly errors. Use a metal tape measure, not a cloth one, cloth stretches and gives inaccurate readings. Measure from wall to wall at multiple points along each wall. Walls are rarely perfectly straight, so take measurements near the top, middle, and bottom.
Note every obstacle: windows, doors, radiators, pipes, electrical outlets. These fixed elements constrain where you can place cabinets and appliances. Mark their exact locations on your floor plan. Include ceiling height, as this affects cabinet installation and lighting options.
Write everything down. Don't rely on memory. A simple hand-drawn floor plan with dimensions is your blueprint for ordering components. If you're uncertain about measurements, measure twice. Better to spend an extra ten minutes now than discover errors when your custom-made carcasses arrive.
Kitchen Renovation Building Regulations and Permits
Building Regulations exist to ensure your renovation is safe and meets current standards. In the UK, most kitchen work triggers Regulations compliance. Ignoring this is a serious mistake, it can affect your home's resale value and may invalidate insurance claims.
Work involving structural changes, electrics, plumbing, or ventilation typically requires Building Regulations approval. You'll need to notify your local Building Control office before starting work. Some work can be completed by a registered competent person (electrician, plumber) who self-certifies compliance. Other work needs Building Control inspection at key stages.
The cost of Building Control approval varies by region and project scope. Contact your local authority's Building Control team early. They'll tell you exactly what approvals you need. Submitting plans in advance prevents costly rework later.
Electrical work is heavily regulated. Any circuits you modify or install must comply with BS 7671 (Wiring Regulations). If you're not a qualified electrician, hire one. This isn't an area for DIY shortcuts. Similarly, plumbing work must meet water supply and drainage standards. Poor plumbing leads to leaks, water damage, and mould.
Ventilation is often overlooked. If you're installing a new cooker, you may need extraction that meets Building Regulations. Inadequate ventilation traps moisture and cooking odours. Proper extraction protects your kitchen finishes and your health.
Set a Realistic Budget and Timeline
A realistic budget prevents panic halfway through. Start by researching typical costs for your scope of work. Costs vary widely depending on whether you're replacing cabinets, refacing existing ones, upgrading appliances, or changing the layout entirely.
Break your total budget into categories. This helps you see where money goes and where you can adjust if needed.
Budget Allocation by Component
Cabinetry typically consumes 30-40% of a kitchen renovation budget. This includes custom-made carcasses, doors, and hardware. Worktops and backsplash account for 15-20%. Appliances take another 20-25%. Flooring, lighting, and finishing touches fill the remaining budget.
Within each category, set realistic expectations. Premium components cost more but last longer. Budget options are cheaper upfront but may need replacement sooner. Choose based on your priorities and timeline.
Add a contingency of 10-15% for unexpected issues. When you remove old cabinetry, you might discover water damage, rotten wood, or outdated wiring that needs fixing. These surprises drain budgets fast. A contingency buffer keeps your project on track.
Track spending carefully. Keep receipts and note what you've spent against your budget. This prevents overspending and helps you make informed decisions if costs exceed estimates.
Kitchen Renovation Project Timeline: Phase by Phase
A typical DIY kitchen renovation takes 4-8 weeks, depending on scope and your available time. Breaking the project into phases keeps you organised and motivated.
Demolition and Preparation
Demolition is the first phase. Remove old cabinets, appliances, and worktops. This is messy and labour-intensive. Plan for 3-5 days if you're doing it yourself. Hire skip hire for waste disposal, don't let rubble pile up.
Before demolition, turn off water and electricity to old appliances. Locate and protect pipes and cables. Damage to these during removal is expensive to repair.
Once old components are out, inspect the walls and floor. Look for damage, damp, or structural issues. Address these before installing new cabinetry. A solid foundation prevents problems later.
Prepare surfaces. Fill holes, sand rough patches, and apply primer if painting walls. Good preparation means better-looking finishes.
Installation and Finishing
Installation begins once preparation is complete. If you're using custom-made carcasses from Wjskitchenwarehouse, they'll arrive within 14 days of ordering. Check them against your measurements immediately. Any issues should be raised at once.
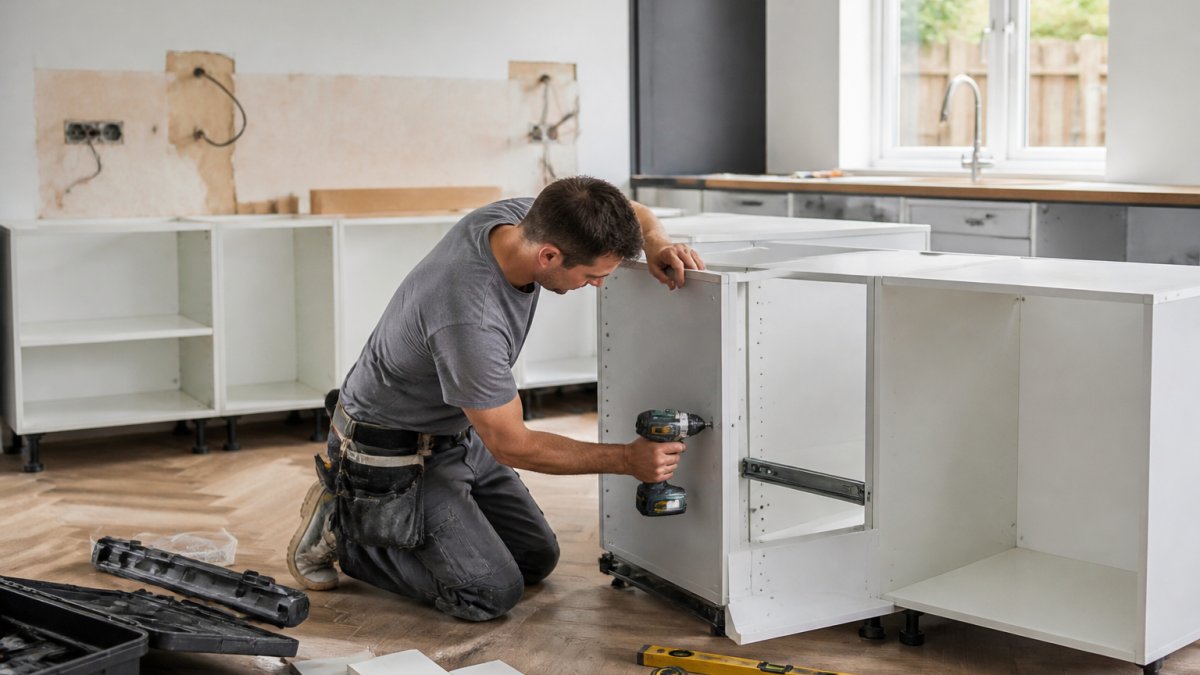
Install base units first, working from one corner outward. Use a spirit level constantly, cabinets must be perfectly level or doors won't close properly. Secure units to the wall with appropriate fixings. Don't skip this step; loose cabinets are dangerous.
Install wall units after base units are secure. This is where a second pair of hands helps enormously.
Essential Tools for Kitchen Fitting
You'll need basic tools for most DIY kitchen renovation work. A good spirit level is essential, don't buy a cheap one. A drill with both drill and screwdriver bits handles fastening. A circular saw or handsaw cuts materials. A jigsaw makes curved cuts around pipes and obstacles.
Material Selection and Finishing Touches
Material choices define your kitchen's look and longevity. Cheap materials look cheap and wear quickly. Quality materials cost more upfront but reward you with durability and beauty.
Countertops and Backsplash
Worktops bear constant use and need to withstand heat, moisture, and impact. Laminate is budget-friendly and durable for moderate use. Solid surface materials offer seamless finishes and easy repair. Stone (granite or quartz) is premium, durable, and beautiful but expensive.
Cabinet Refacing and Hardware Updates
Cabinet refacing refreshes existing cabinetry without full replacement. New doors and drawer fronts transform the look at a fraction of the cost of new cabinets. Paint existing cabinetry for a budget-friendly update. Quality paint and proper preparation deliver professional results.
Common Mistakes to Avoid
| Phase | Duration | Key Tasks |
|---|---|---|
| Planning & Design | 1-2 weeks | Measure space, create floor plan, finalise design |
| Ordering Components | 2-3 weeks | Order custom carcasses, appliances, materials |
| Demolition & Prep | 3-5 days | Remove old units, inspect structure, prepare surfaces |
| Cabinetry Installation | 3-5 days | Install base units, wall units, secure to walls |
| Worktops & Backsplash | 2-3 days | Install worktops, tile backsplash, grout |
| Appliances & Finishing | 2-3 days | Install appliances, lighting, hardware |
According to Building Regulations guidance from the UK government, kitchen renovations involving structural changes, electrical work, or new appliances typically require Building Control approval. Your local authority can confirm what applies to your specific project.
Frequently Asked Questions
Do I need building regulations approval for a kitchen renovation?
Yes. Most kitchen renovations involving structural changes, plumbing, electrics, or new appliances require Building Regulations approval. You must notify your local Building Control office before work begins. Electrical work must comply with BS 7671 standards, and gas work must be completed by a Gas Safe registered engineer. Failure to obtain approval can affect your home's resale value and insurance. Check with your local authority for specific requirements for your project.
What is the most cost-effective way to update a kitchen during DIY renovation?
Cabinet refacing and hardware updates offer excellent value without full replacement. Repainting cabinets, upgrading handles and hinges, and adding under-cabinet lighting transform the space affordably. Peel-and-stick backsplash options provide visual impact at low cost. Prioritise high-impact, budget-friendly changes first: new lighting, fresh paint, and updated fixtures. Consider phasing your project over time rather than tackling everything at once, which spreads costs and reduces financial risk.
What essential tools do I need for kitchen fitting work?
Essential tools include a cordless drill, circular saw, spirit level, tape measure, stud finder, and safety equipment (gloves, goggles, dust mask). For plumbing, you'll need an adjustable wrench and pipe cutter. For electrical work, a voltage tester and wire stripper are critical for safety. For tiling and backsplash installation, a notched trowel and grout float are necessary. Invest in quality tools; poor-quality equipment leads to mistakes and safety hazards. Many DIY enthusiasts hire or rent specialised tools rather than purchasing them outright.
How long does a typical DIY kitchen renovation take?
A full kitchen renovation typically takes 8-12 weeks for DIY projects, depending on scope and complexity. Demolition and preparation take 1-2 weeks. Structural work, plumbing, and electrical installation require 2-3 weeks. Cabinet installation and countertop fitting take 1-2 weeks. Backsplash, flooring, and finishing touches add 2-3 weeks. Custom-made components have their own lead times; factor this in for ordering and delivery. Working evenings and weekends extends timelines. Professional sub-contracting for complex tasks (gas, electrics) may add time but ensures compliance and safety.