 how-to
Can You Fit Kitchen Cabinets Yourself?
Last Updated: November 2, 2026
Quick Summary
Yes, fitting kitchen cabinets yourself is a realistic job for a patient homeowner with a clear plan. Most DIY installs go wrong at the planning stage, so get the layout and installation sequence right first.
- Sketch the kitchen to scale and mark the sink, cooker, fridge, windows and doors before fitting anything.
- Measure each wall in millimetres at floor, worktop and ceiling height, since walls are rarely straight.
- Identify your wall type first and match the fixing to it, avoiding plasterboard alone for wall cabinets.
- Fit wall cabinets before base units, and start base units from the highest point of the floor.
- Confirm pipe, cable and service positions before drilling, and never rely on plasterboard alone.
Table of Contents
- Planning Your Cabinet Layout and Installation Sequence
- Measuring the Kitchen and Marking Your Walls Accurately
- Tools for Fitting Kitchen Cabinets
- Preparing Walls, Finding Studs and Choosing the Right Fixings
- How to Fit Kitchen Wall Cabinets
- How to Fit Kitchen Base Units on Uneven Floors
- Booking Your Cabinets and Planning Your Installation Day
- Frequently Asked Questions
Planning Your Cabinet Layout and Installation Sequence
Fitting kitchen cabinets yourself is a realistic job for a patient homeowner with a clear plan. Most DIY installs go wrong at the planning stage, not the fixing stage. Get the layout and sequence right first, and the rest becomes far easier.
Start by sketching the kitchen to scale on paper. Mark the positions of the sink, cooker, fridge, and any windows or doors. Then mark where the wall cabinets and base units will sit.
Install in the right order:
- Fit the wall cabinets or base units first, depending on your plan
- Work from one fixed reference point, usually a corner or a level line
- Fit end panels and fillers last, once the run is square
A common mistake is starting on the wall before the layout is confirmed. Once a unit is fixed in the wrong place, it is a slow job to undo.
Measuring the Kitchen and Marking Your Walls Accurately
Accurate measurements save money and stress. Measure each wall at floor level, at worktop height, and at ceiling height, because walls are rarely perfectly straight. Our dedicated guide to measuring cabinets correctly covers this before you cut or order anything.
Use this simple checklist:
- Measure each wall in millimetres, not rounded figures
- Record the height from the floor to the ceiling
- Note the position of pipes, cables, and sockets
- Mark the cabinet height line with a spirit level
- Check that opposite walls and corners are square
Mark your walls lightly with a pencil so you can erase lines later. Recheck every measurement before you order or cut anything.
Tools for Fitting Kitchen Cabinets
You do not need specialist kit, but the right tools make the job much faster. Most homeowners need a tape measure, a spirit level, a drill, and a stud finder.
Useful extras include:
- A laser level for long, straight lines
- A carpenter's square to check corners
- Quick-release clamps to hold cabinets while you fix them
- Shims for packing uneven floors and walls
- Spare screws, since some always get lost
Choose screws suited to your cabinet material and wall type. Pre-drill holes near the edges of panels to stop splitting.
Preparing Walls, Finding Studs and Choosing the Right Fixings
Wall cabinets carry the most weight per fixing point in the whole kitchen, so this is the section where a shortcut becomes expensive. Before you drill anything, confirm what your wall is actually made of, because the fixing that works on a timber stud wall will pull straight out of lightweight blockwork.
Identify your wall type first
Work through these checks before you choose a fixing:
- Tap the wall: a hollow, drum-like sound usually means plasterboard on studs or dot-and-dab; a dull thud suggests masonry.
- Look behind a socket faceplate (with the circuit isolated) to see whether there is a cavity or solid material behind the plaster.
- Use a stud finder on its deep-scan setting to locate timber studs, then confirm with a small 2 mm test hole where you will not see it once the cabinet is fitted.
- Check for dot-and-dab adhesive blobs on drylined walls, these are not a fixing point and can crack if you screw into them.
Match the fixing to the wall
| Wall type | Suitable fixing | What to avoid |
|---|---|---|
| Timber stud | Long wood screws into the stud centre, minimum 75 mm | Fixing only into plasterboard between studs |
| Solid masonry (brick or block) | Masonry plugs or frame fixings sized to the screw | Short plugs that only grip the plaster skim |
| Plasterboard on studs | Screws into studs, or cavity fixings rated for the cabinet load | Standard plastic plugs alone |
| Dot-and-dab plasterboard | Heavy-duty cavity fixings or resin-anchored studs | Any fixing that relies on the adhesive dabs |
| Lightweight block | Resin or specialist block fixings | Standard masonry plugs, which can spin |
A wall cabinet loaded with crockery can be heavy, and the load is carried by the top rail and the fixings, not by the cabinet back panel. If you are unsure of the substrate, a resin anchor or a proprietary cabinet hanging rail fixed into studs is the safer route.
Find and mark the studs properly
Run the stud finder across the wall in two directions and mark each stud centre with a pencil line. Studs are typically at 400 mm or 600 mm centres in modern homes, but older properties can be irregular, so do not assume a spacing. Mark the cabinet height line with a laser level or a long spirit level, then transfer the stud positions onto that line so your drill holes land on timber.
Drill a small pilot hole before driving the final screw. If the bit passes through with no resistance, you have missed the stud, stop and re-mark rather than forcing a longer screw in.
Prepare the wall surface
Remove any loose plaster, old tiles, or wallpaper from the fixing zone. Cabinet backs sit flush against the wall, so a lump of old adhesive will throw the unit out of level. If the wall is significantly bowed, plan to pack the cabinet off the wall with shims at the fixing points rather than trying to pull it tight and distorting the carcass.
How to Fit Kitchen Wall Cabinets
Fit wall cabinets before base units, so you have room to work. Hold the cabinet against the marked line with a helper, then check it is level.
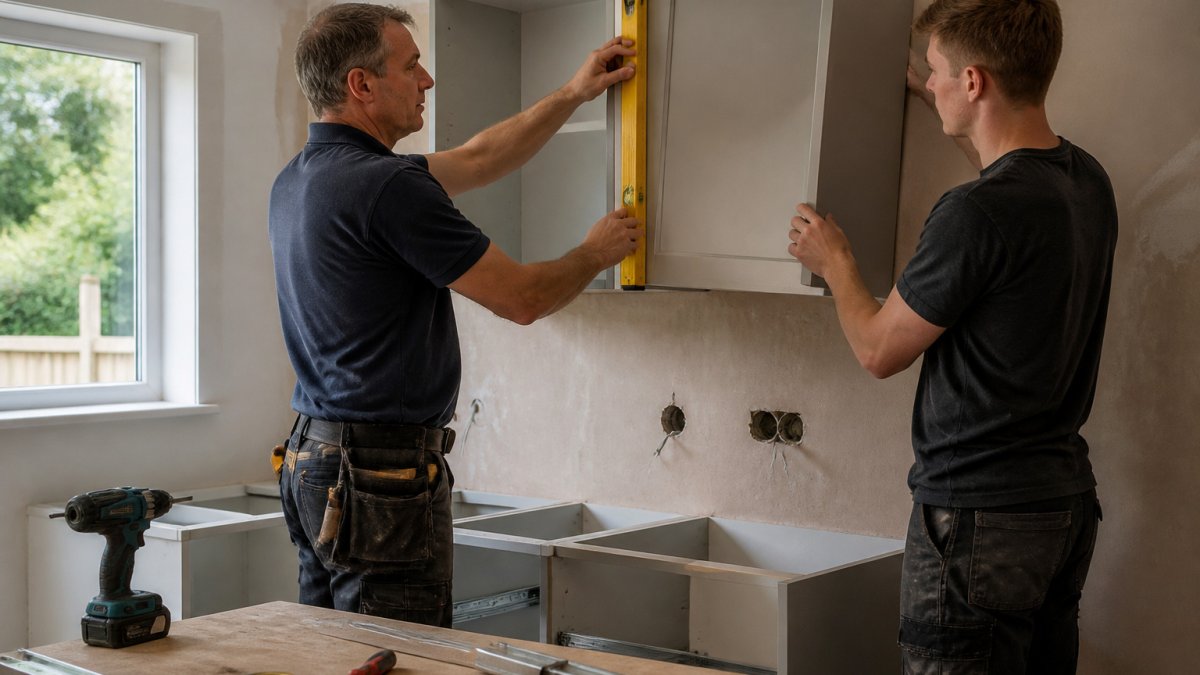
Work through these steps:
- Attach the top rail to the wall using clamps and screws
- Check the level from side to side and front to back
- Fix the lower section once the top is secure
- Join adjacent cabinets with cabinet locking wedge screws
Expected result: each wall unit sits level, flush, and solidly fixed before you move to the next.
Lifting heavy wall units alone is risky. Ask a helper to steady the cabinet while you drill, and never stand on a unit to reach higher.
How to Fit Kitchen Base Units on Uneven Floors
Base units are where uneven floors, out-of-square corners, and hidden services all meet, and this is the stage most DIY installs regret rushing. The aim is a single dead-level run with the worktop sitting flat, even if the floor beneath it slopes by 15 mm across the room.
Start from the highest point
Find the highest point of the floor along the run using a straight edge and spirit level, then set your first unit so its adjustable feet are wound almost fully in at that point. For the full step-by-step method on levelling base units, see detailed installation walkthrough. Every other unit is then packed up to meet it. Working from the highest point means you never have to cut the plinths down or chase a low spot.
Level, then fix, then join
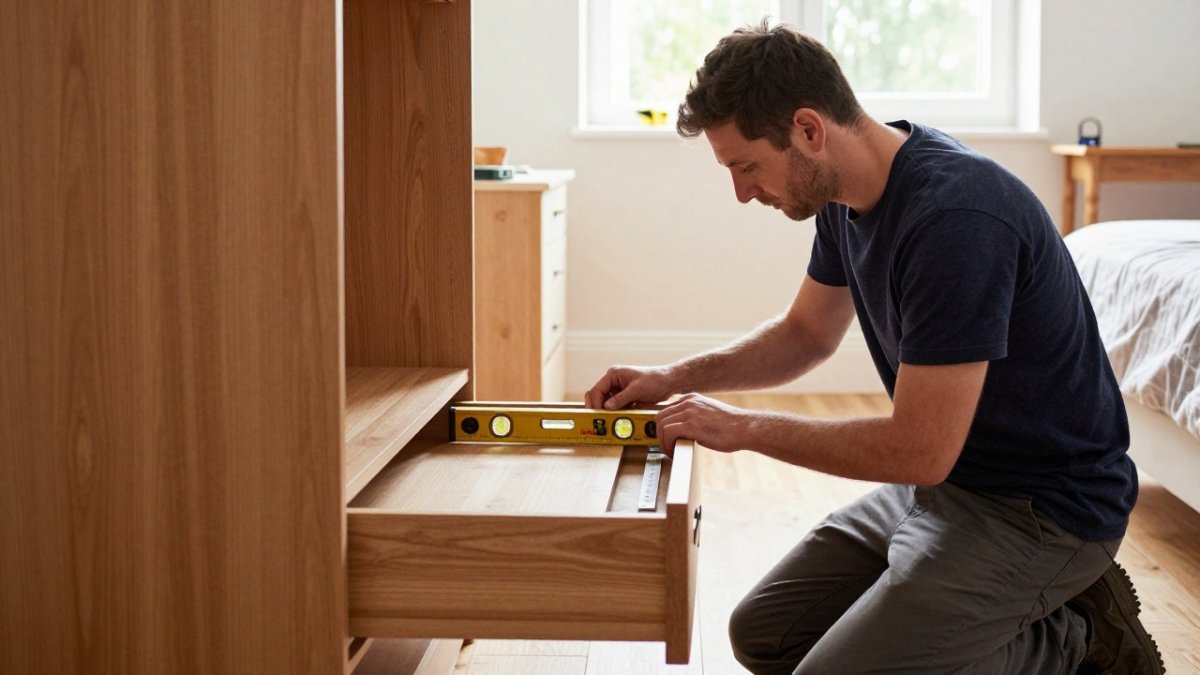
- Set the first unit in the corner and check it side to side and front to back with a spirit level.
- Adjust the feet or pack with shims until the carcass is level and the front edge is plumb.
- Fix the unit to the wall through the back rail using the fixings suited to your wall type.
- Bring the next unit alongside, clamp the two carcasses together, and check the run is level before joining.
- Join adjacent units with cabinet locking bolts or connector screws through the pre-drilled holes in the carcass sides.
- Re-check the whole run with a long straight edge before the worktop goes on, a 2 m level or straight edge will reveal a dip that a short level hides.
Handle out-of-square corners
Few kitchen corners are truly 90 degrees. Offer the corner unit into place and check the angle with a carpenter's square. If the walls splay or pinch, do not force the carcass square, it will crack the joints and throw the doors out of alignment. Instead:
- Set the unit square to itself and pack the gap at the wall with a filler panel or scribe strip.
- Cut the filler to follow the wall using a scribing tool or a compass set to the widest gap.
- Fix the filler to the cabinet, not to the wall, so the unit stays square.
Scribe end panels to the wall and floor
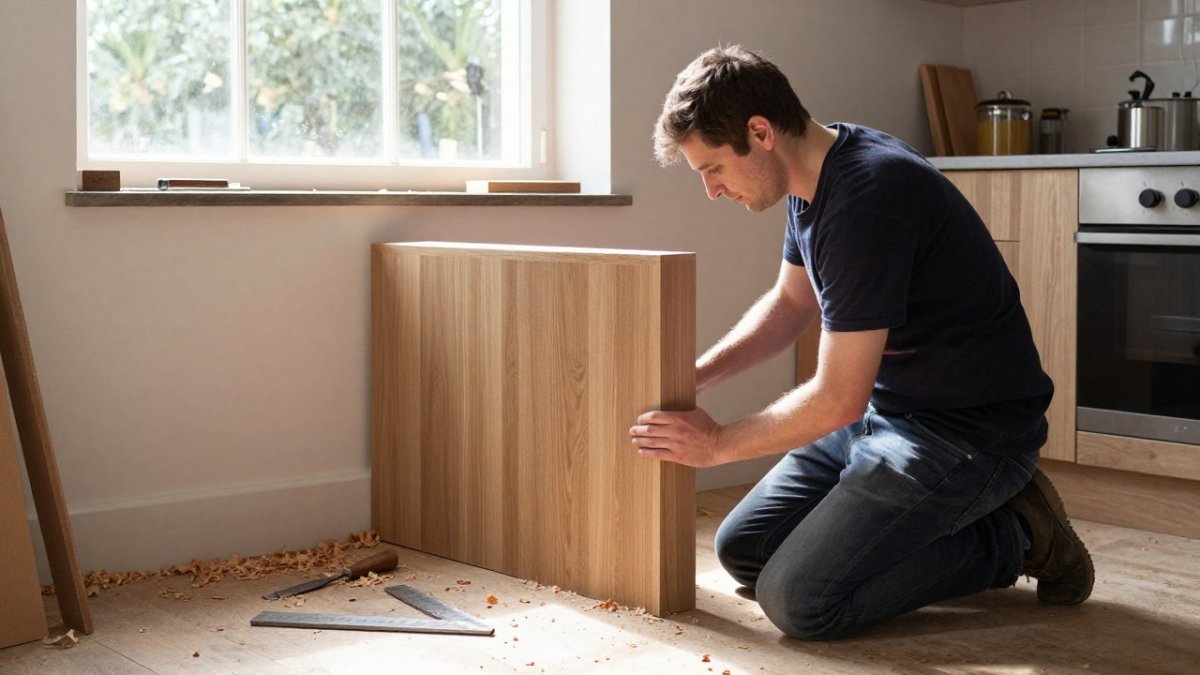
An exposed end panel is the most visible part of a base run, so it needs to follow the wall and floor rather than sit proud of them. Hold the panel against the cabinet, set a compass to the widest gap between panel and wall, and run it down the wall to transfer the profile onto the panel. Cut slightly proud of the line and sand to fit. The same technique works at the floor if the skirting is uneven.
Plan around services before you fix
Before any base unit is fixed, confirm where the water, waste, gas, and electrical connections emerge. Cut service holes in the cabinet back or base before the unit goes against the wall, cutting afterwards is awkward and risks damaging pipework. Leave the recommended clearances around cookers, fridges, and dishwashers as stated in the appliance instructions, and check that the worktop cut-out for a hob or sink does not clash with a carcass rail.
Check before you fit the worktop
Once the run is joined, walk the whole length with a straight edge and check for level, for plumb at the front edge, and for any unit that has drifted out of line. Correct it now, once the worktop is fixed and the appliances are in, correcting a single unit means dismantling the run.
Booking Your Cabinets and Planning Your Installation Day
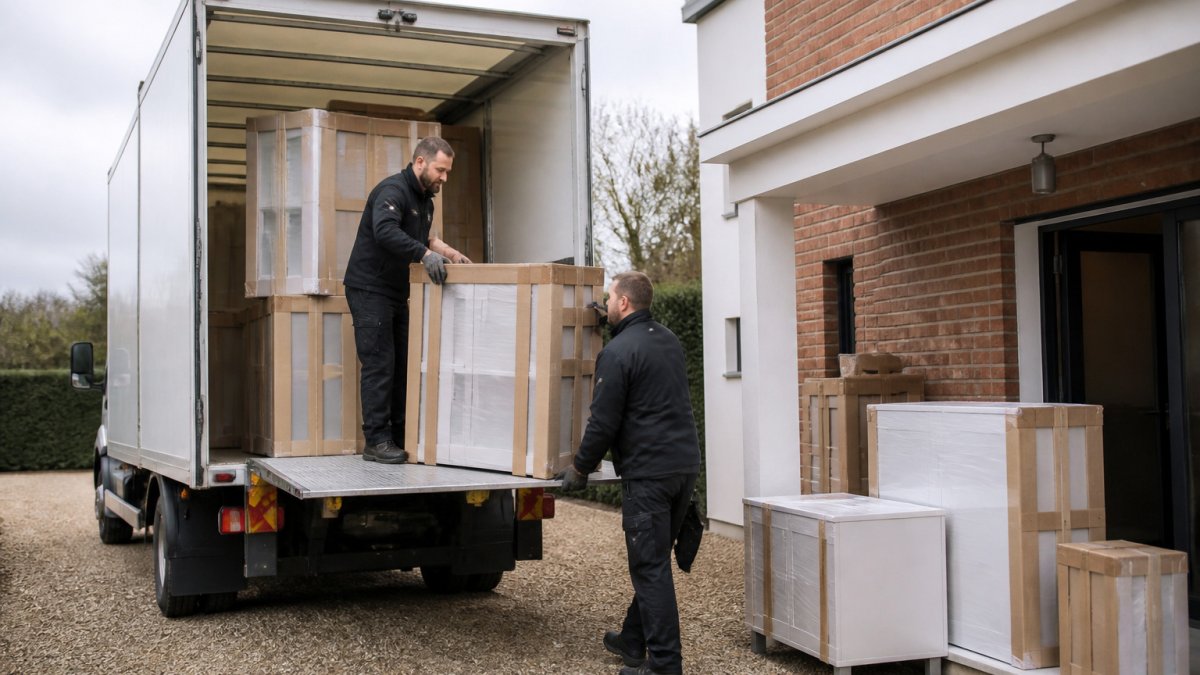
Order your cabinets only after you have confirmed your measurements and layout. You can learn where and how to buy custom kitchen doors online before placing your order. Check current delivery timing with us before you plan the work. If you would rather have someone else do the fitting, see our professional fitting guide to decide whether hiring help makes sense.
On the day, clear the work area, lay down protective sheeting, and have all tools ready. Plan for the job to take longer than you expect, especially if this is your first kitchen.
Frequently Asked Questions
Can I fit kitchen cabinets myself?
Yes, many homeowners fit their own kitchen cabinets with patience and a methodical approach. Most of the work is measuring, marking and levelling rather than specialist skill. Flat-pack and pre-assembled units both suit DIY fitting, but heavy wall units benefit from a second pair of hands. Plan the layout carefully, check every measurement twice, and fit wall units before base units. If plumbing, gas or electrical work is involved, use a registered tradesperson for those elements.
What tools do I need to install kitchen cabinets?
The core kit includes a spirit level, a laser level if you have one, a tape measure, a stud finder, a drill with masonry and wood bits, a carpenter's square, clamps and shims. You will also need suitable screws or wall plugs for your wall type. Quick-release clamps hold units in place while you fix them. Having all tools ready before you start prevents the cabinets from sitting unsupported for long periods.
How do I level kitchen cabinets on an uneven floor?
Use adjustable feet or shims placed under the base unit frame, checking level front to back and side to side with a spirit level. Start with the corner units, then link the run along a level line. Pack gaps under the plinth rather than letting the carcass twist. Once levelled, fix the cabinets together through their frames so the run stays aligned. Trim the toe kick or plinth afterwards to hide the packing.