 how-to
How to Install Kitchen Base Units: A Pro Guide
Table of Contents
- Tools and Materials Needed for Kitchen Fitting
- Measuring and Marking the Wall for Your Base Units
- Assembling the Cabinet Carcasses
- Positioning and Levelling Kitchen Base Units
- Joining Kitchen Base Units Together
- Fixing Kitchen Cabinets to the Wall
- Troubleshooting Common Installation Errors
- Conclusion
- Frequently Asked Questions
Last Updated: September 17, 2026
Tools and Materials Needed for Kitchen Fitting
Before you touch a cabinet, get your kit right. Missing tools mid-install turns a two-hour job into a two-day one.
Tools:
- Cordless drill with a masonry bit and a wood bit
- Spirit level (600mm and 1200mm if you have both)
- Laser level for a fast datum line
- Measuring tape and pencil
- Stud finder
- Clamps for holding units together
- Safety goggles and dust extraction
Materials:
- Base unit legs
- Adjustable feet or plinth clips
- Wall brackets or L-shaped brackets
- Cabinet connectors
- Wall plugs and masonry screws
- Fixing rail if your units need one
- Shims or packers for uneven floors
Measuring and Marking the Wall for Your Base Units
Start by finding your highest floor point. Every base unit sits on adjustable legs, so you level everything up to the highest spot, not the lowest.
Then mark your unit positions along the wall with a measuring tape. Check for:
- Pipework and cables behind the wall
- Window sills that might clash with tall units
- Door frames that limit where a run can end
- Appliance gaps for your oven, hob and fridge
Assembling the Cabinet Carcasses
Flat-pack carcasses go together the same way most of the time. Work on a clean, flat surface, not the floor if you can avoid it.
Here's the order that works:
- Lay out all panels and check against the instructions
- Fit the cam and dowel fixings into the side panels
- Attach the base panel to both sides
- Slide the back panel into its groove
- Square the carcass by measuring corner to corner
- Tighten all fixings once square
Positioning and Levelling Kitchen Base Units
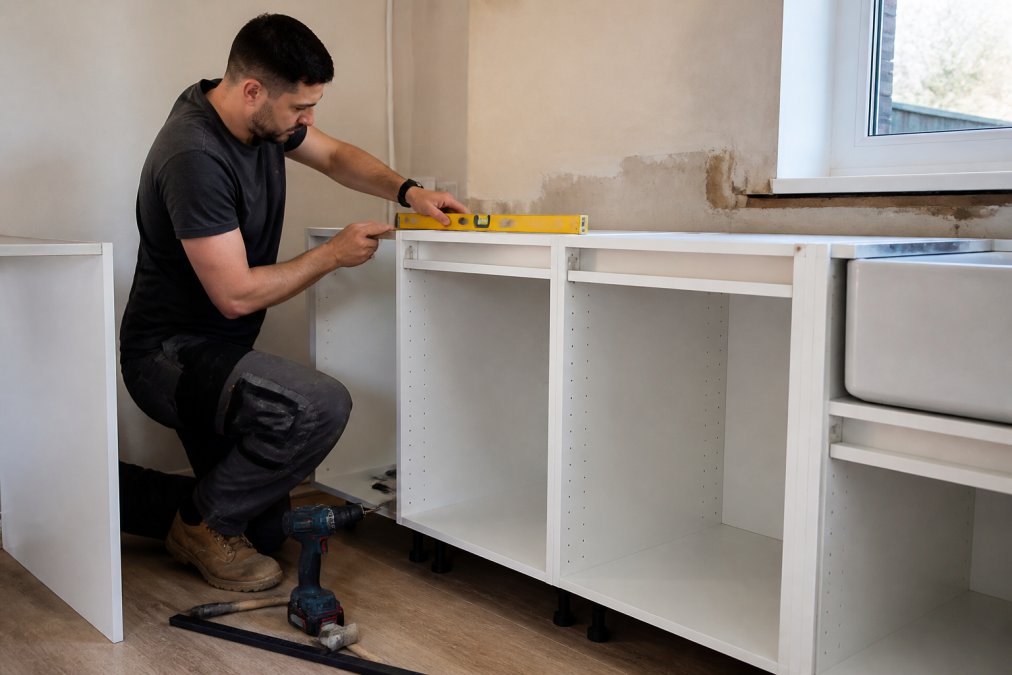
Set each carcass in position and adjust the base unit legs until the top edge meets your datum line. A spirit level across the top tells you when you're there.
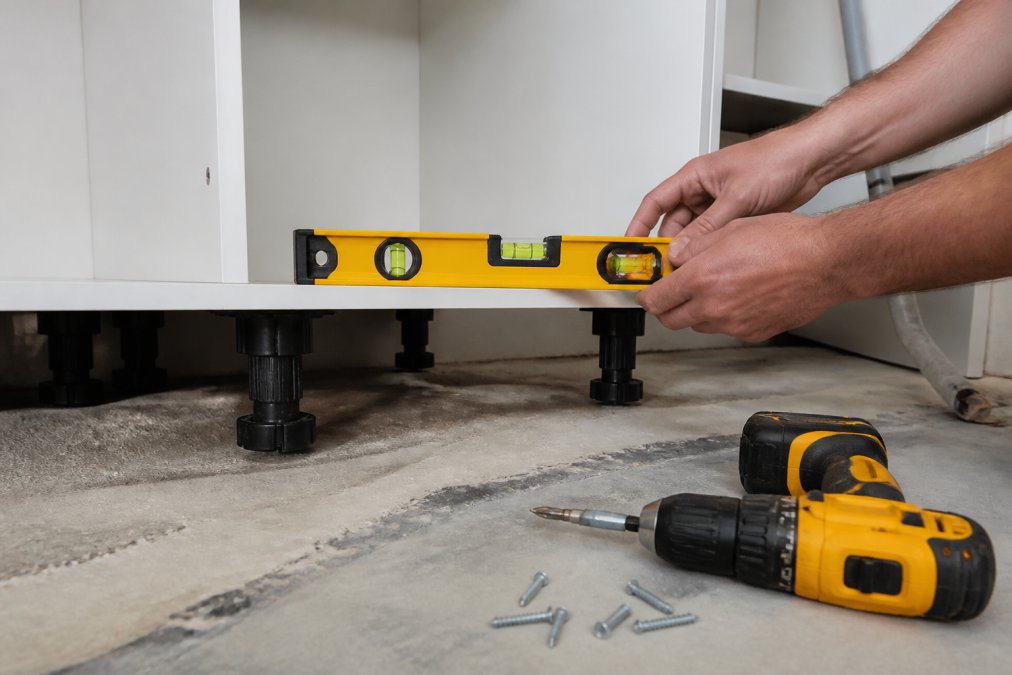
Check for level in two directions:
- Front to back
- Side to side
Joining Kitchen Base Units Together
Clamp two adjacent units together so their front edges align perfectly. Then drill through the carcass sides and fix with cabinet connectors or screws.
Fixing Kitchen Cabinets to the Wall
Fixing kitchen cabinets to wall properly stops the whole run moving. Level legs alone won't hold a loaded cabinet steady, and a base unit full of tins and pans can weigh 40-60kg.
Choosing the right fixing for your wall
Get this wrong and the cabinet pulls away the first time someone leans on it.
- Solid masonry (brick, block, stone): use masonry screws with matching wall plugs, or frame fixings for heavier loads. Drill the hole 5mm deeper than the plug and clear the dust out with a vacuum or blow-out bulb before inserting the plug.
- Stud partition walls: fix into the timber studs wherever possible. Studs are typically at 400mm or 600mm centres, so use a stud finder and mark them before you start. A screw into a stud holds far more than any plasterboard fixing.
- Plasterboard without studs behind: use a rated plasterboard fixing designed for cabinet loads, such as a metal toggle or a heavy-duty self-drill anchor. Follow the manufacturer's stated load rating and never exceed it. If in doubt, cut a section of plasterboard out and fit a timber noggin between the studs to fix into.
- Dot-and-dab plasterboard: treat this as a cavity wall. The plasterboard is not structural, so you must reach the blockwork behind it with a longer fixing, or fit a timber batten across the studs.
How many fixings and where
Space fixings every 500-600mm along the run and always at both ends of each unit. A single fixing per cabinet is not enough, once the worktop and contents are in, the wall carries the load, not the legs.
Checking for pipes and cables before you drill
Use a cable and pipe detector across the full height and width of every fixing point. Common routes to avoid:
- Horizontal runs at 150mm and 450mm above floor level for sockets and switches.
- Vertical drops from ceiling to socket outlets.
- Central heating pipes running up from the floor to radiators.
- Gas pipes, which must be treated with extra care and never drilled near.
Fixing into a wall that isn't plumb
A wall that leans out at the top pulls the cabinet away from the worktop line. Pack the gap behind the bracket with a shim or cut timber packer, then tighten. Don't overtighten to close the gap, as that bows the carcass and throws the doors out.
Final check before you move on
Once the run is fixed, grab the top front edge of each unit and try to rock it. There should be no movement. If there is, the wall fixing is the culprit, not the legs. Re-check every bracket, then move on.
Troubleshooting Common Installation Errors
Most problems trace back to skipping a step earlier. Here's how to fix the common ones.
| Problem | Likely Cause | Fix |
|---|---|---|
| Doors won't sit flush | Carcass twisted during assembly | Loosen fixings, re-square corner to corner, retighten |
| Run slopes along the wall | Units levelled individually but not as a group | Recheck datum line, adjust legs across the whole run |
| Gaps between unit fronts | Units not clamped before joining | Loosen connectors, clamp, re-drill and refix |
| Cabinet pulls from wall | Too few fixings or missed studs | Add brackets, fix into studs or use rated plasterboard fixings |
| Legs sink over time | Floor uneven under legs, no packers | Add shims, spread load across all legs |
| Doors bind on one side | Hinge cups drilled off-centre or carcass out of square | Re-check diagonals, refit hinges, adjust cam |
| Plinth won't clip in | Legs set at different heights or plinth cut too long | Reset all legs to datum, re-cut plinth with 2mm clearance |
Scribing units to bowed or uneven walls
Most guides assume a flat wall. In older properties, a 10-15mm bow over a 3m run is common, and forcing a carcass flat against it twists the unit and throws the doors out.
Levelling across uneven floors
A floor that drops 15mm across a 2m run is normal in older kitchens. The datum line handles the top, but the legs still need to carry load evenly.
- Set every leg so the carcass top meets the datum, then check front-to-back level.
- Where a leg sits over a hollow, slide a plastic packer or a cut shim under the foot, not under the carcass.
- Distribute load across all four legs. A single leg cranked up to bridge a dip will flex and eventually strip its thread.
- For severe dips over 20mm, bed a continuous timber batten on the floor and sit the legs on that. It spreads load and stops individual feet punching through.
Integrating appliances into a base run
Appliance gaps are where most DIY installs go wrong, because retrofitting space after the run is joined is far harder than planning it in.
- Integrated dishwasher or washing machine: leave the carcass width plus 5mm clearance each side for the appliance to slide in, and confirm the appliance's own adjustable feet can reach your datum. Check the appliance manual for the exact recess depth, as integrated models often need 560-570mm behind the door.
- Built-in oven: the housing unit must be rated for the oven's weight and have a ventilation gap at the rear and base. Follow the manufacturer's cut-out dimensions exactly; a 5mm error means the oven won't sit flush.
- Hob above a base unit: leave a minimum 50mm clearance between the top of the carcass and the underside of the worktop for airflow, and check the hob manual for any deeper clearance requirement.
- Fridge or freezer: don't box a freestanding appliance into a tight run. Leave the ventilation gaps the manual specifies, usually 25-50mm at the rear and sides.
Fixing wobbly or misaligned units after the fact
If a unit rocks when you lean on it, the cause is almost always one leg not touching the floor or a pulled fixing. Slide a shim under the short leg, re-check level, then re-tighten the wall bracket. If it still moves, the wall fixing has failed, remove it, inspect the plug, and refix into a stud or with a rated plasterboard anchor.
Conclusion
Getting kitchen base units level, square and properly fixed is the difference between a run that lasts and one that sags within a year. The steps aren't complicated, but skipping the datum line, the clamping or the wall fixings causes most callbacks.
Frequently Asked Questions
How are kitchen base units attached to the wall?
Base units are secured to the wall using L-shaped brackets or a fixing rail. First, find the studs using a stud finder. Then, drill pilot holes and use masonry screws and wall plugs for solid walls, or wood screws for studs. Attach the brackets to the top of the cabinet carcass and the wall, ensuring the unit is level before tightening. This prevents the units from tipping and provides structural integrity.
How do you level kitchen base units on an uneven floor?
To level kitchen base units on an uneven floor, start by adjusting the base unit legs. Use a spirit level across the top of the carcasses and turn the legs clockwise or anticlockwise to raise or lower each corner. For significant dips, you may need to pack under the legs with a spacer or scribe a plinth to fit the floor's contour. Always check level side-to-side and front-to-back before joining units together.
Do you have to fix kitchen base units to the wall?
Yes, you must fix kitchen base units to the wall for safety and stability. Even if units are joined together, they can tip forward when doors or drawers are opened, especially if heavy items are stored inside. Securing them with wall brackets prevents movement and meets good practice for structural integrity. It also keeps the worktop overhang consistent and stops gaps from appearing between units.
Can I install kitchen base units myself?
You can install kitchen base units yourself if you are comfortable with basic DIY and have the right tools. The job involves assembling carcasses, levelling legs, and fixing units to the wall. However, poor levelling or incorrect fixing can lead to doors misaligning and worktops not sitting flat. If you are unsure, hiring a professional kitchen fitter ensures a precise finish, especially for custom-made carcasses.